If you aren’t able to compost outdoors, vermicomposting is your answer! Vermicomposting uses Red Wriggler worms to convert food waste and organic material into a nutrient-rich natural fertilizer that you can use in many different ways.
WHY VERMICOMPOST?
- It can be done indoors! It’s especially great for those who live in apartments and condos and others who don’t have space outdoors, and for composting in winter.
- It happens fast as red wriggler worms can eat about half their own body weight in food per day.
- It does not smell if it is done properly.
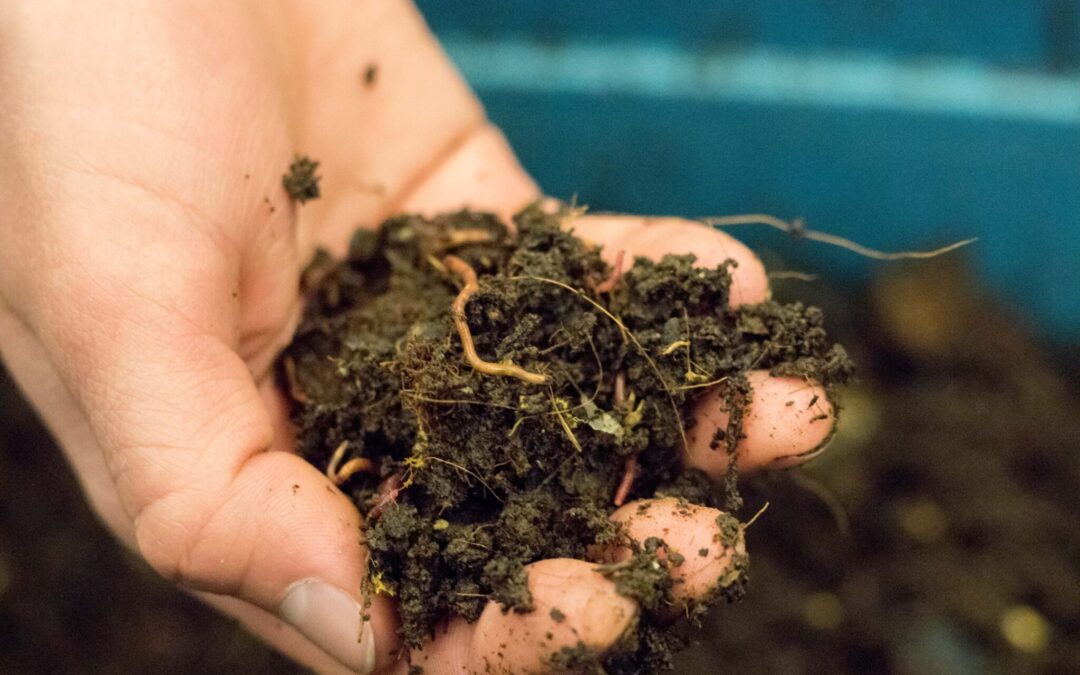
- Worm compost is an excellent natural fertilizer that is even richer in nutrients than outdoor compost.
- A little worm “poo” goes a long way!
Below you will find a quick guide on what you will need to get started vermicomposting, how to set up your vermicomposting bin, and how to take care of your worm friends!


HOW DO I GET STARTED
Bin
First you will need to make your own vermicomposting bin or you can buy one pre-made.
To make a bin all you need is a large opaque plastic tote with a lid. A Rubbermaid® style container approximately 60 cm long, 40 cm wide, and 25 cm deep is good for most users. You can use a different size, but we recommend that the bin be about 25 cm deep.
If you plan to reuse an old container, make sure it has not been previously used to store chemicals or pesticides, which might be toxic to your worms.
Red Wriggler Worms
You will need to purchase red wriggler worms. These worms are different from your garden variety earthworm. They can consume and process large amounts of organic material in a relatively short time, they reproduce quickly under the right conditions, and are very happy to live in a small container. You cannot vermicompost with garden earthworms, you need red wrigglers. We recommend purchasing at least 1/2 lb of Red Wriggler worms to start with.
There are a number of locations in Manitoba where you can purchase what you need to get started:
- Nature’s Perfect Plant Food, Contact Mike Jaques (Sarto, MB) at 204-434-6887 or Jen Unwin (Winnipeg, MB) at 204-837-4190
- Selkirk Manitoba – Contact Art at (204) 482-1244 or email acrane1950@gmail.com
- Kijiji, Facebook Marketplace, or Buy Nothing Groups
Bedding
Bedding is a food source for the worms, and it also helps to regulate moisture, keep smells down, and aerate the bin. You will need to always have this on hand to add to your worm bin.
Common materials used for bedding are shredded newspaper, computer paper, and paper bags. Glossy paper like flyers or magazines should not be used. Coconut coir is also a great option, and can be purchased from most gardening centres.
Food
Red wriggler worms are vegetarians. While they can eat most foods that you would put in an outdoor compost bin, there are some important differences. Foods like citrus peels and coffee grounds can make the bin acidic and should only be added in moderation. Crushed or finely ground egg shells will help control acidity and also provide the worms with valuable nutrition.
Here are the good, the bad, and the moderate foods you can feed your worms:
| Good Foods | In Moderation | Bad Foods |
|
|
|
SETTING UP YOUR WORM BIN
Bin Ventilation Holes
Once you’ve got your container, you’ll need to drill small holes about 5 mm in diameter along the top and lid to provide ventilation. You don’t have to worry about worms escaping through the holes. If you maintain your worm bin, they will be happy to stay where they are.
It is also a good idea to drill some holes in the bottom to allow for drainage so your bin doesn’t get too wet. Place your bin on a tray or in another container to catch moisture; make sure you empty it occasionally. You can use the liquid from the tray diluted with 10 parts water to feed your plants.
Bedding
Before you can put your worms in your bin you need to provide them with some moist bedding material. The bedding should be about as wet as a wrung-out sponge: not soggy, but not dry. You can easily wet down your bedding as you add it using a spray bottle. The bedding helps to regulate moisture and provides a medium in which your worms can live.
Your worms should be covered with a layer of bedding at all times. Don’t pack it down, as red wrigglers like loose bedding because they don’t burrow as well as garden earthworms. When you first start your bin you can add a handful of soil or sand just to help things get started.
Where to Place Your Bin
Red Wrigglers are most productive at room temperature. Exposure to hot sunny conditions or temperatures below 10° C should be avoided, as your worms can die in extreme temperatures. Keeping your worms indoors year round is likely your best option. Keep your bin somewhere that is easy to access like under the kitchen sink, in a bathroom, closet, basement, or in the garage (only in summer unless it is heated).
HOW TO MAINTAIN THE BIN
Feeding the Worms
To feed your worms, simply bury the food under the bedding and/or the worm manure/castings. (Yes it is worm poo!) Always rotate or move around the bin choosing a different location every time you feed the worms. This will help to keep the decomposed materials and fresh food scraps separate. It’s a good idea to make yourself a plan to follow and mark where you placed the food last. By the time you get back to the first position most of the food should be at least partially composted. When you have placed the new food in the bin remember to cover it up again with both worm castings and bedding material.
Feeding in this manner, will help you monitor how much the worms are eating and help you regulate how often you feed them as well. It will make it easier to harvest the finished worm compost when it is ready. Avoid over-feeding your worms as this can result in unpleasant odours, excess moisture in the bin, and attract fruit flies. If you notice that there is still a significant amount of food in your bin, simply wait a few days and check it again.
Monitoring Bin Moisture
There is not a lot to do other than feed the worms and harvest your free compost, however because your worms’ skin needs to be moist to allow them to “breathe,” you have to keep an eye on the moisture content in the bin. If it is too dry, the worms will not do their job and can even die. If it’s too wet, the worms can drown and your bin can begin to smell.
Making holes in the bottom of your worm bin will help to keep the bin from getting too wet, but you still need to check it regularly. If the bin is too dry you can use a spray bottle to dampen the bedding until it is as wet as a wrung-out sponge. If the bin seems too wet, you can add additional dry bedding to help absorb the extra moisture.
And voila, that’s all you need to do to get started vermicomposting! Once you get started, you will find that vermicomposting is fun and easy. With anything, it will take some trial and error. If you run into any problems, below are additional resources to check out:

For more detailed information about vermicomposting, including troubleshooting and harvesting, check out our Vermicomposting booklet!
Check out our video showing how to make a vermicomposting bin.
QUESTIONS?
- Give us a call: toll free at 1-866-394-8880 or in Winnipeg at 204-925-3777
- Check here to see if we have any upcoming composting presentations or;
- Complete the notification form to find out when our next vermicomposting presentation will be happening.
- Drop us an email.
- Check out our vermicomposting FAQ page.


Recent Comments