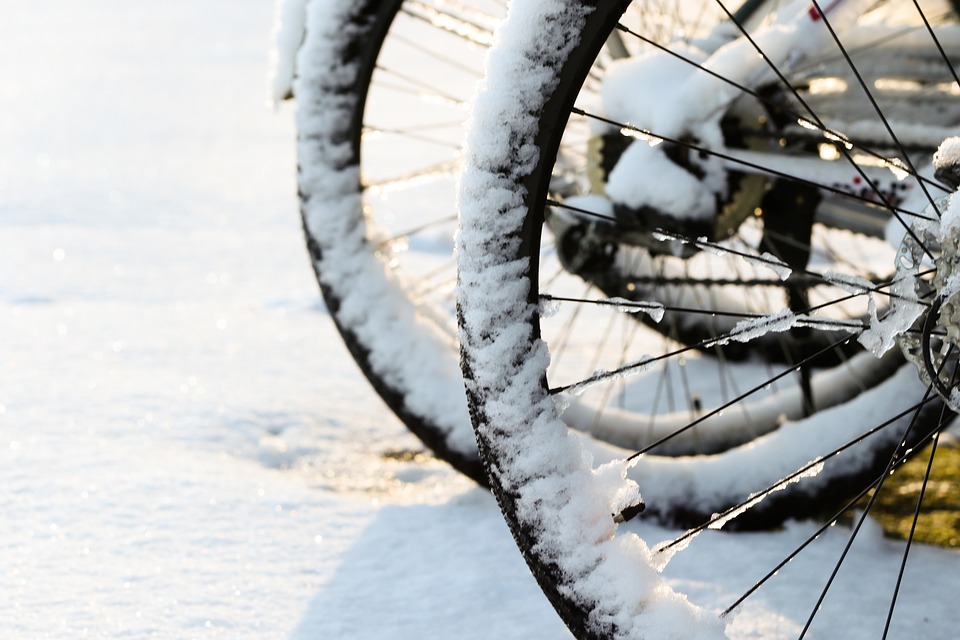
It looks like you’ve read our ‘How to Keep Cycling Through Winter’ blog post and have decided to give it a try! Bike maintenance is an essential part of winter cycling, so we wanted to walk you through the process step by step.
Ready to clean and prep your winter ride? Let’s get to it!
Here is what you’ll need:
Rag or Chain Scrubber
Old Toothbrushes or Utility Brushes
All Purpose Bike Wash
All-Weather Lubricant
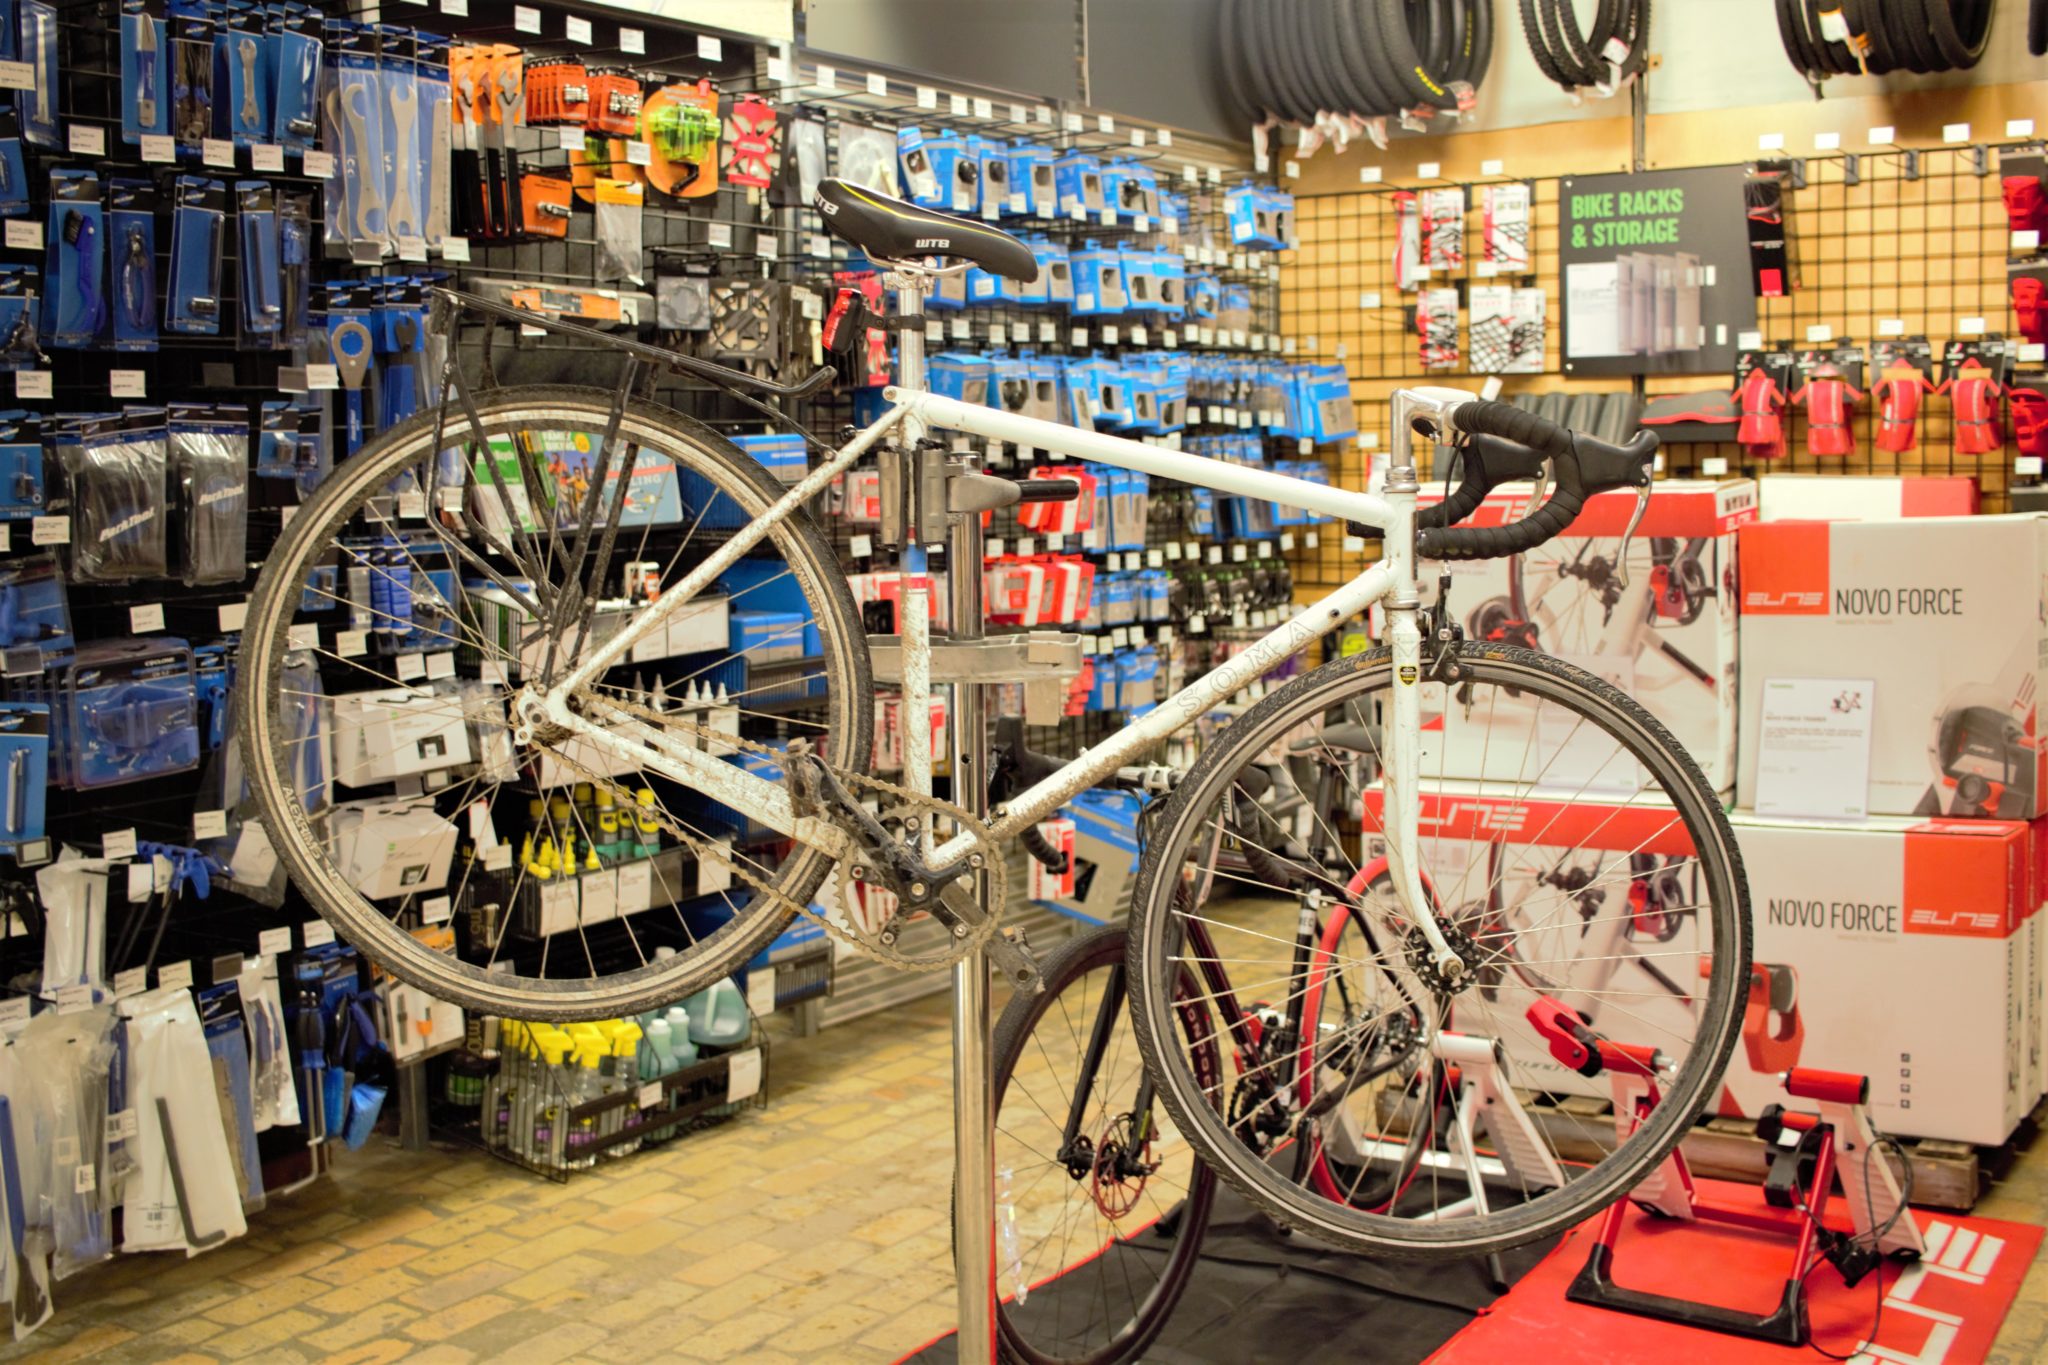
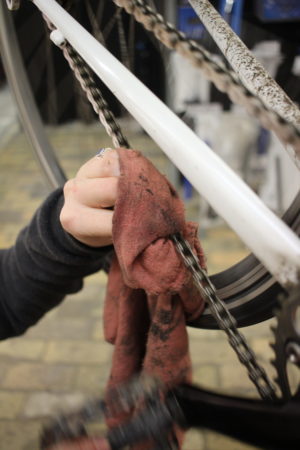
Step #1: Wipe Down your Bike
 Every time you ride outdoors in the snow, you should be wiping down your drivetrain.
Every. Single. Time.
Keep an old towel or car brush close to where you store your bike so it becomes a necessary step in your ritual to wipe off excess snow and debris. Wipe down the rims, chain, brake cables, and cranks. It’s also a good idea to clean the frame if you find it dirty or snow-covered, but keeping a bike clean in winter isn’t mandatory.
Wiping down your bicycle components will help to prevent rusting and avoid the tide of trickling water that inevitably creates a puddle (if you store it inside).
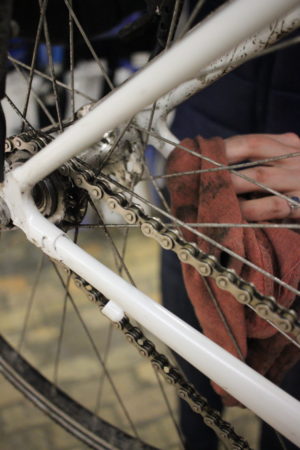
Step #2: Clean your Chain
Thoroughly clean your chain with a solvent or all-purpose bike wash, using a chain scrubber or old toothbrush.
If you don’t have a chain solvent, you can use warm water and any kind of degreasing dish soap you have on hand.
If you want to go an extra step, you can remove your chain and soak it in a solvent to ensure every bit of grease is taken care of.
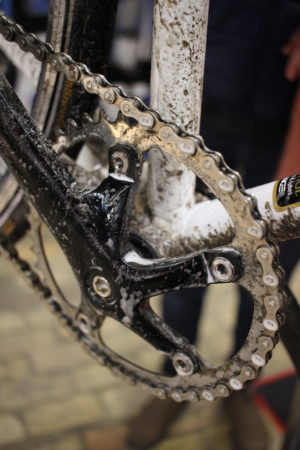
Step #3: Lubricate your Chain
Once your bicycle is fresh and clean, you can re-oil the chain with an oil-based, all-weather lubricant specifically designed for bikes. Add it to the chain as you pedal – easier to do when the bike is lifted. If you have derailleurs, it is also a good idea to put a drop of the chain lube on the pivot points to help keep them moving.
Be sure to wipe off any excess oil afterwards.
Step #4: Maintain your Brakes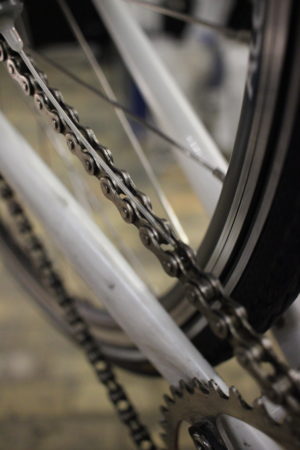

Brake pads can wear out much faster in wet and grimy winter conditions. It is worth checking them regularly to ensure they are still intact. Use your old toothbrush tool to get between brake blocks and rims to remove any pieces of grime that could have built up over time. In order to do this, you probably have to release the brakes or remove the wheel to get at them with a cleaning tool. If you’re unable to clean in between, that’s okay, just be sure to wipe your rims down occasionally, as they are the primary source of grime and grit that will cause the rims to wear out over time.
If you find your brakes are faltering through winter, consider taking them out, cleaning them, and re-oiling to breathe new life into tired brake cables. Be sure that you are ONLY oiling inside the cable housing, and not the pads themselves. We would recommend having this done in a bike shop, as you require the tools to reset the brakes after removing the cables. This would only be required occasionally to ensure your brakes are operating safely.
Step #5: Find your Ideal Tire Pressure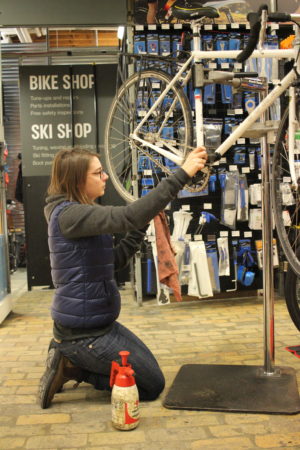
Your ideal winter tire pressure will be a matter of preference. Locate the suggested tire pressure on the side of your tires. In winter, many riders prefer to inflate their tires to the lower number in the range that’s listed.
A lower PSI (pounds per inch) will provide better grip on wet surfaces, but if the pressure is too low, you are more prone to flats as the rims pinch the tires to the ground, resulting in punctures.
Consider your tire width, weight, weather conditions, and type of riding to determine your ideal PSI.
Looking for some hands-on assistance? Visit the UWSA Bike Lab or The Wrench.
We wish you the best of luck in your winter cycling and maintenance. Don’t forget to dress warmly, ride safely, and take good care of your ride!


These are very useful tips. I never knew some of them. As a Biker, I think I should know these tips.Thanks for sharing with us!