My skin is pretty sensitive. As such, I’m always careful about the type of soap I buy.
I’ve gone back and forth between bars from the drug store and ones from local makers. But I have always been left discouraged by the ingredients, by the packaging the soap comes in, or by the limited budget I’m working with.
When March 2020 awarded me with more free time than “normal” I decided to get creative and make my own soap. Turns out – it is so easy.
I’m convinced I’m never going to purchase a bar of soap again and here’s why…
- The homemade soap works great on my sensitive skin
- I can choose any scent I want
- It is (mostly) package free to make
- It is fully biodegradable
- It is relatively low-cost
Ingredients:
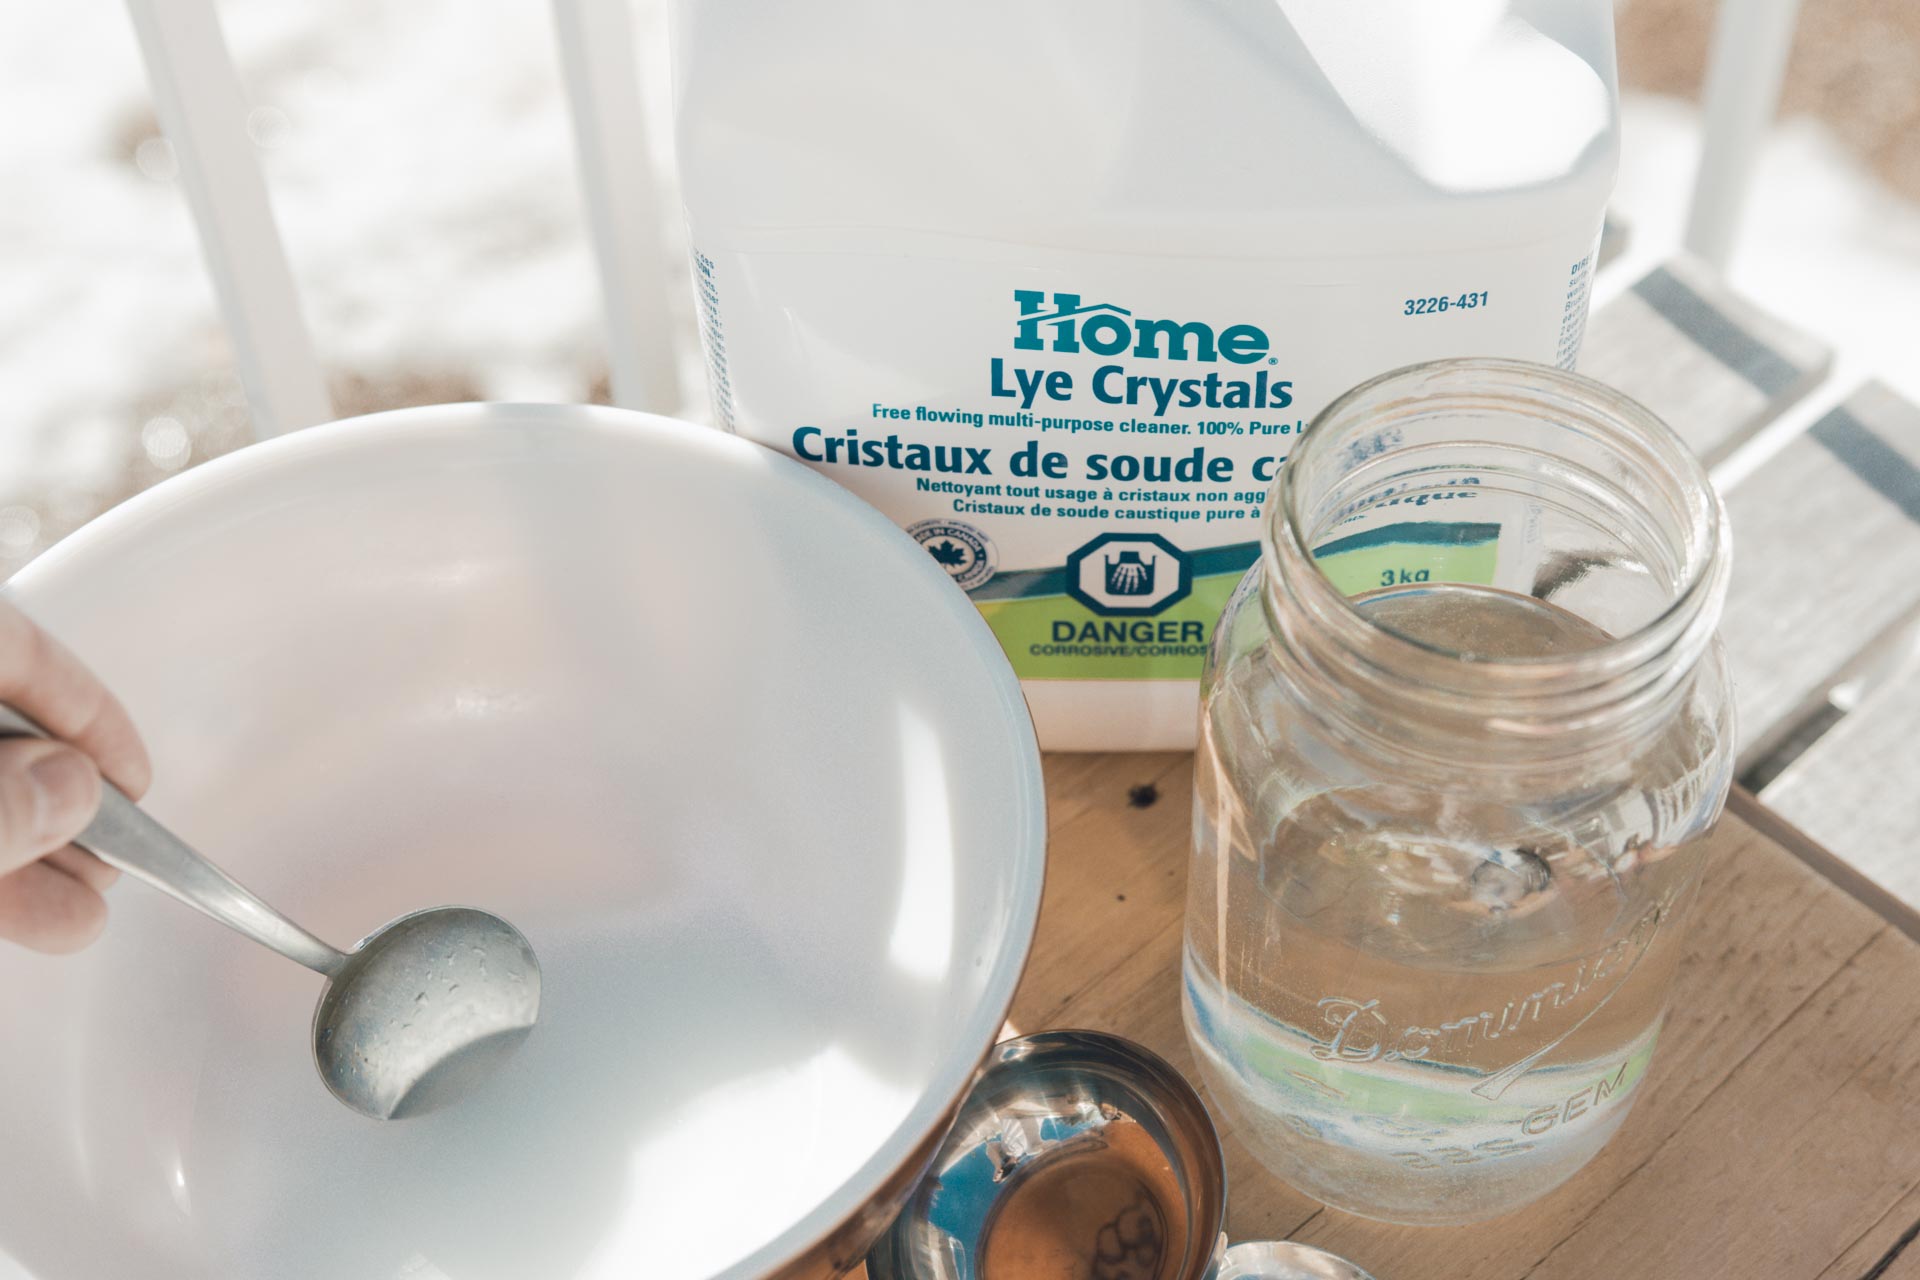
– 2 tbsp lye flakes
– 1/3 cup cold water
– 1/3 cup all vegetable shortening
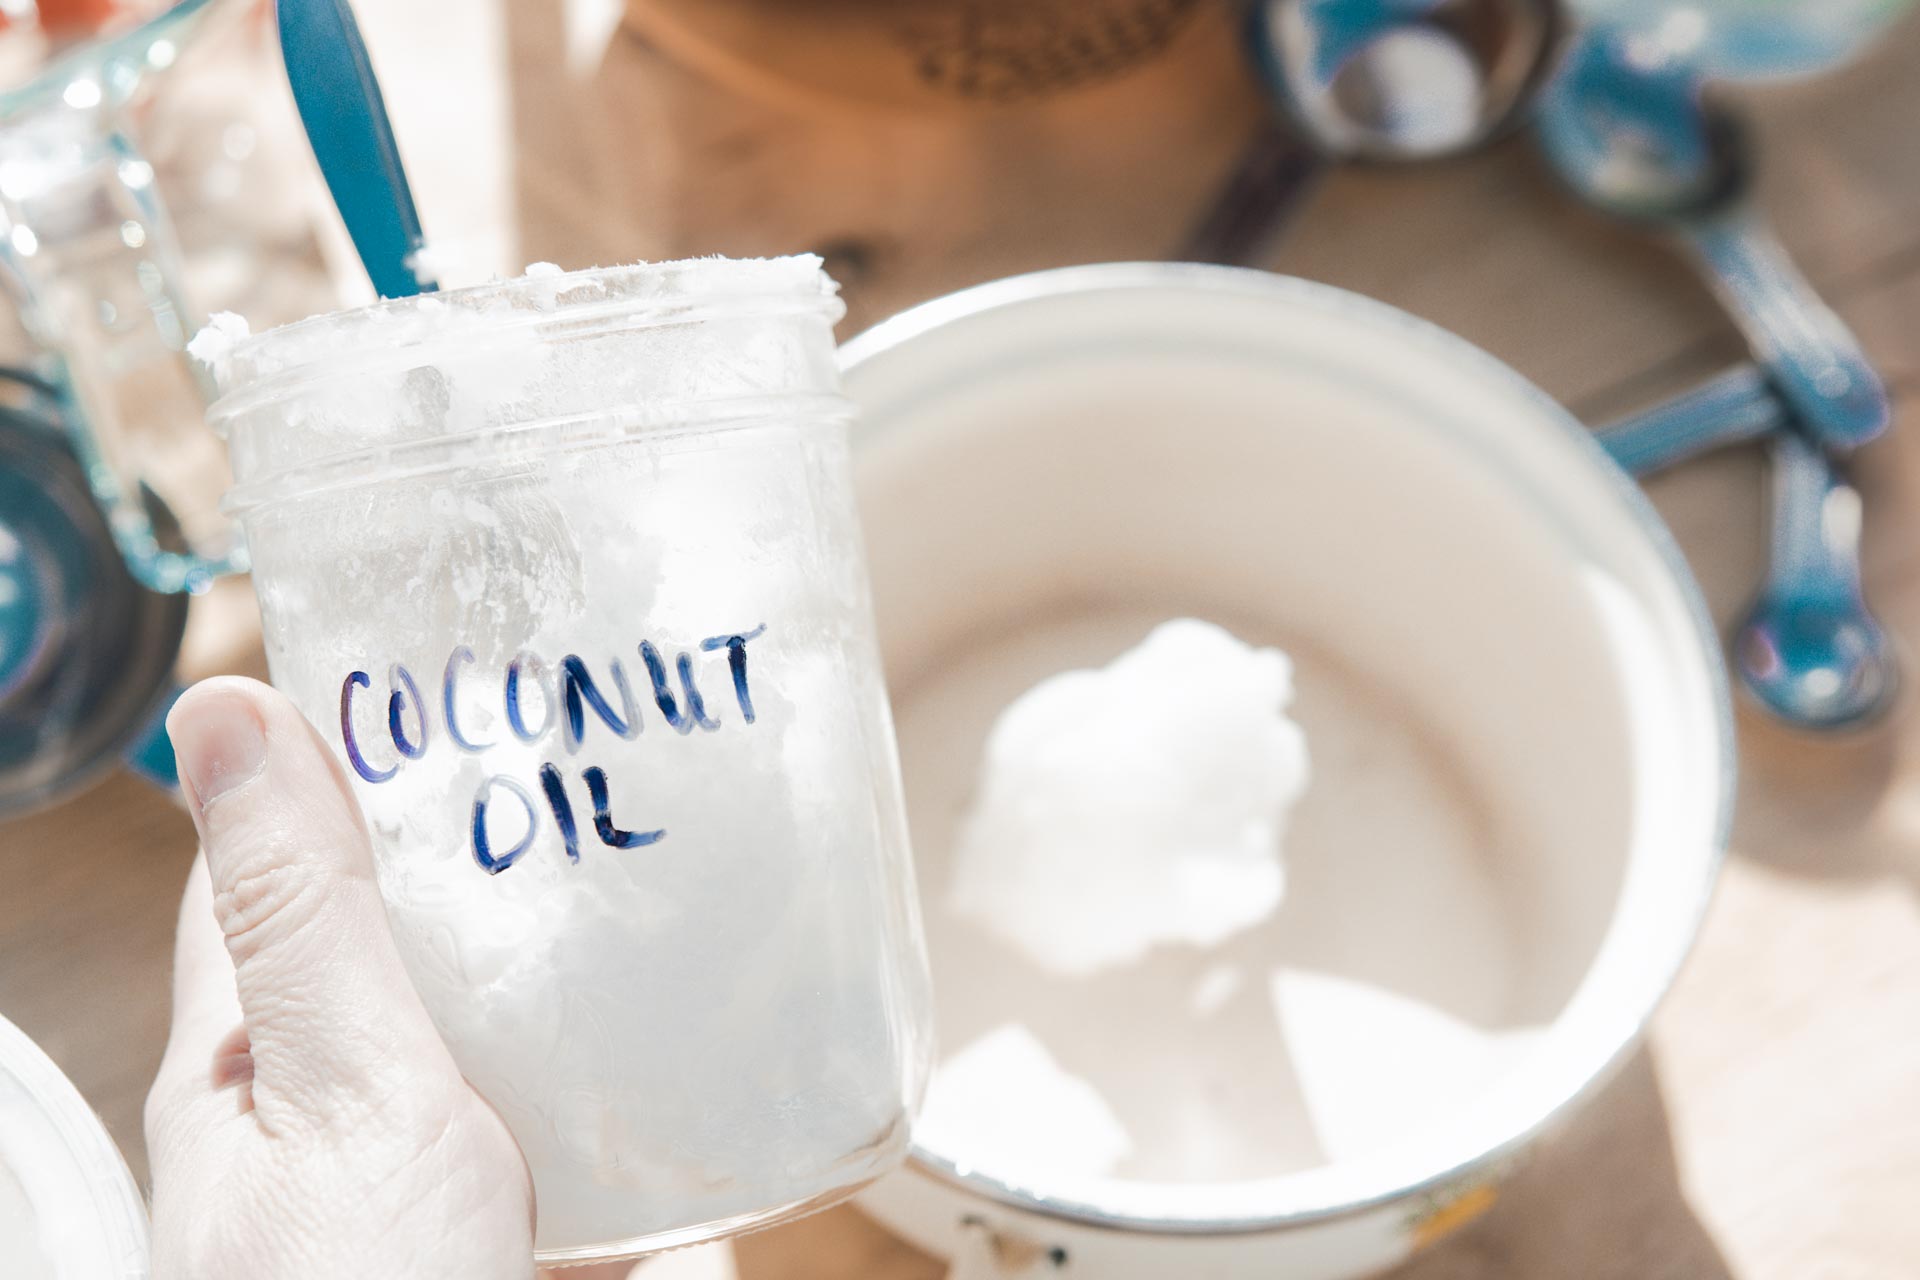
– 1/3 cup coconut oil
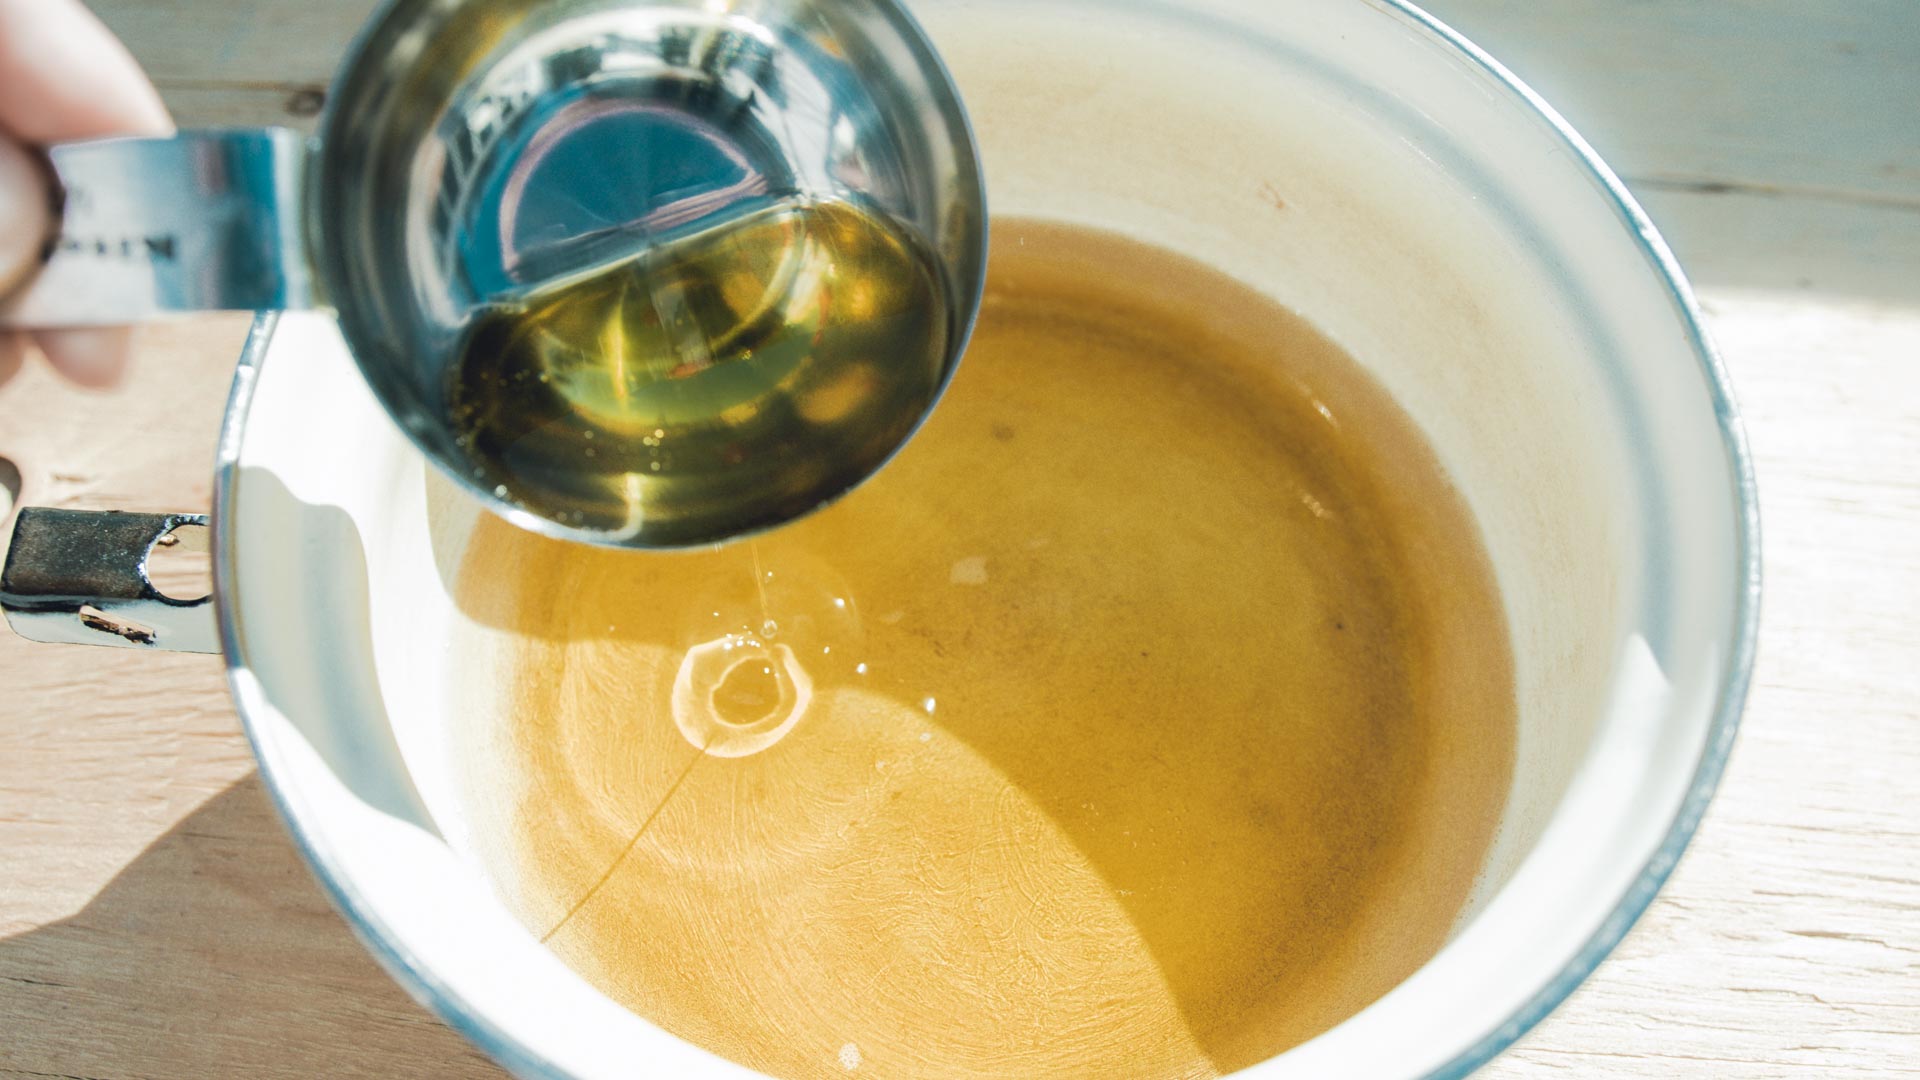
– 1/3 cup olive oil
Notes:
It is incredibly important to measure the oil and lye accurately (too much oil can cause the soap to eventually turn rancid and too much lye can be harsh on your skin). Because undiluted lye is not good for your skin, it is recommended to wear gloves while working with it.


STEP 1: Pour 1/3 cup cold water into a bowl. Add 2 tbsp of lye flakes and stir everything together. Adding the lye causes the water to heat to the point where the outside of the bowl should be warm to touch. This process gives off strong fumes so working outside or staying at an arms length is a good idea. Allow the solution to cool to about 100°F before mixing with the rest of the ingredients.
STEP 2: In a separate pot, melt 1/3 cup coconut oil and 1/3 cup vegetable shortening.
STEP 3: Add 1/3 cup olive oil to the melted oils and mix them all together.
STEP 4: Slowly add the lye solution to the warm oil (it should turn cloudy as the lye is changing the oil into soap).
STEP 5: Stir every few minutes for about 30 minutes until the ingredients no longer separate when you stop mixing. During this time you can add essential oils to scent the soap. Adding a bit of neem oil is also a great option for people with very sensitive skin.
STEP 6: After the ingredients are thoroughly mixed together and no longer separate, switch to stirring it every 10-15 minutes until it’s thickened (this should take one to two hours).
STEP 7: Select your moulds. Great options include old cardboard juice containers, wide mouth mason jars, and silicone or glass baking dishes (although if you are using large dishes you will want to multiply this recipe as it likely won’t be enough to cover the entire thing). It is important not to use a metal mould as this could negatively react with the soap.
STEP 8: Grease your moulds or line them with wax paper to keep the soap from sticking. The original recipe suggests liberally greasing your mould with petroleum jelly. Because I already had an old container that I purchased prior to thinking critically about exactly what petroleum jelly is (and the environmental impact of it), that’s what I used. Other options I found online include parchment paper, old cereal bags, wax paper or if you’re daring – nothing at all. I would love to hear what you try and how it works for you in the comments below.
STEP 9: Once your soap has thickened, you can pour it into your moulds. Check if it is thick enough by pouring a spoonful of soap back into the mixture. If it sits on top for a bit before soaking in, it is ready to be transferred.
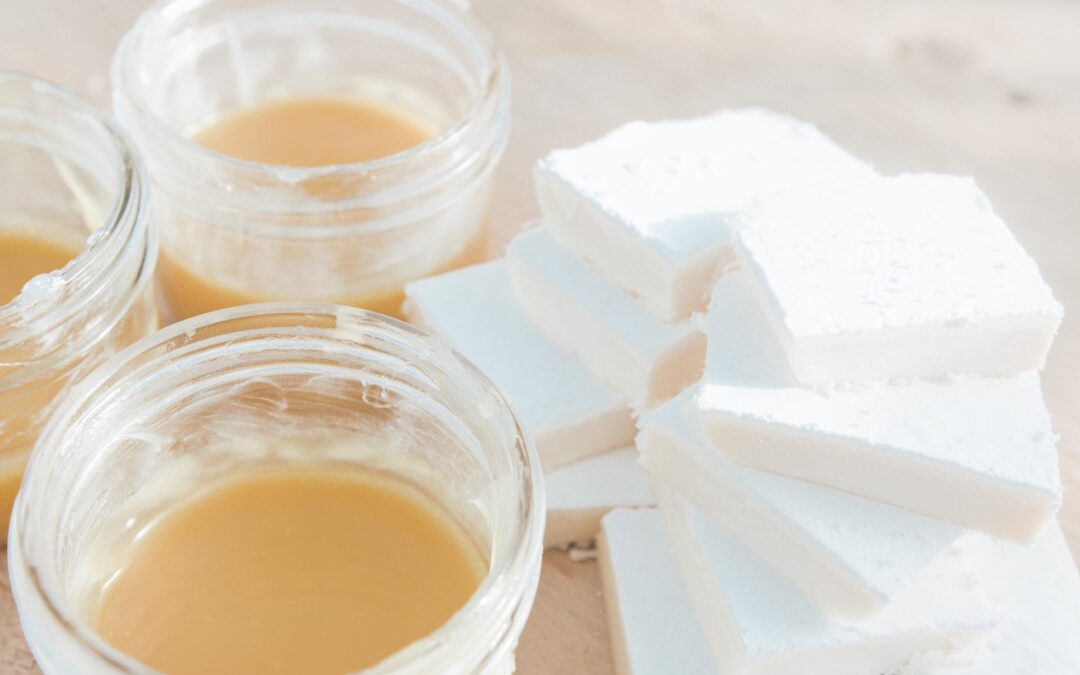
STEP 10: Once you have poured the soap into the moulds, let it set for at least three weeks before using it to ensure it is fully cured. If you are wanting to cut the soap into smaller bars (a baking dish sized soap bar might be a bit big?) you can do this after 3-5 days.


Thank You for such a great recipe and instructions for biodegradable soap that’s the best for sensitive skin. I will be making this soon.
Hi,
I need help! We need 170 garbage bins and 170 recycling bins on wheels for our community..would anyone be able to help me find where i can order such a huge amount?
email: rhondacameron@slfn293.ca any information would be most helpful.
Thanks so much!!
R
Hi Rhonda,
I would suggest you get in contact with 1 of our Pathfinders who can help you find the right resources to address this issue for your community.
Thank-you so much Bethany for this information!
So valuable and so simple/ straightforward for people with sensitive skin and environmentally conscious. Not to mention cost effective. I made enough soap for me for the year for about $22.00!